Concord Grape Jam
As much canning and preserving that took place in my home when I was young, I have no memories of homemade jams or jellies on our table. I can’t imagine among the tomatoes, pickles, sauerkraut, and green beans that lined the shelves of our basement’s root cellar, there weren’t jars of fruit preserved in one way or another. I just don’t recall any. As with most All-American families of the day, Welch’s Grape Jelly accompanied peanut butter in our sandwiches and butter on our toast. I do, however, remember concord grapes making an appearance from time to time. It makes sense that they went into jam making – but again, no memory of that. Maybe I am blocking. Maybe I had the arduous job of peeling the grapes for their journey to the jam jars and so I’m blocking any recollection of that tedious task. 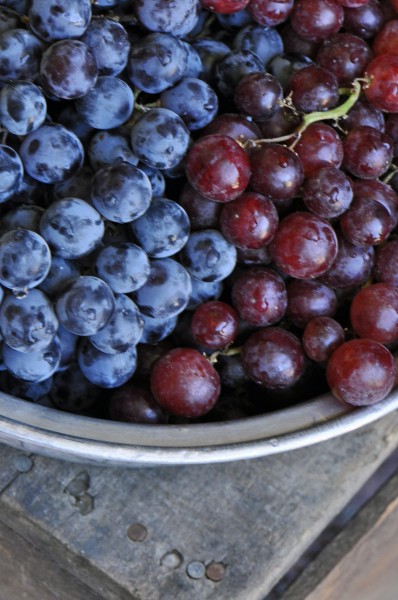
As I opened the bag from the farmer’s market containing 4 pounds of concord grapes, I was suddenly struck by the realization that I was probably going to have to peel each and everyone of them in order to make jam. I had so much on my agenda to accomplish that day and it occurred to me that I would not be whipping out this jam in an hour – or two – or…. After slipping the skins from a half dozen or so grapes, I headed for my computer determined to find a recipe for jam that did not require the grapes to be peeled. Another 1/2 hour went by while I lost myself in reading dozens of grape jam recipes. They were all quite delicious sounding, nevertheless, they were all similar in their first step – begin by peeling the grapes. Really? It’s 2012 and we can’t find a quicker way to homemade grape jam?
Maybe, just maybe, I was approaching this from the wrong perspective. I needed to put some positive energy behind my jam making experience. Harnessing the more Zen side of my personality, one by one I peeled those precious little dark purple spheres. Once I released myself to the experience, it really was quite therapeutic. After the peeling process, the rest of the recipe came together quite quickly.
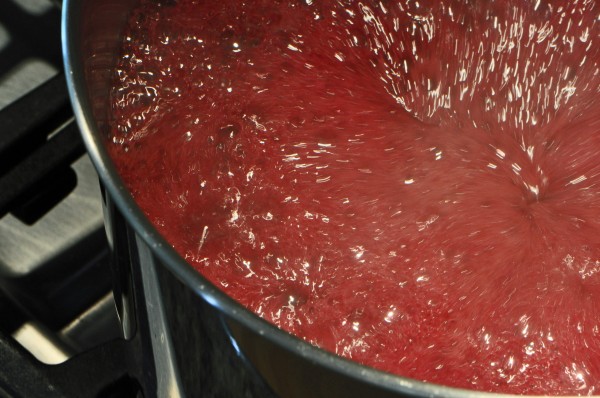
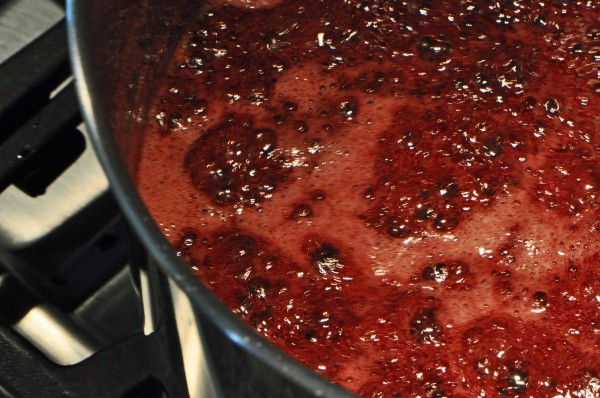
Varying stages as the grapes cook down to a jam like consistency.
My favorite jam book these days is the Blue Chair Jam Cookbook by Rachel Saunders. I have made many recipes from her book. Each one has resulted in an exceptional product. Taking one of her classes has been on my bucket list since the day I got her book. What a wealth of information she holds. In addition, I think it would be fun “jamming” with a group of people.
For simplicity sake I have directed you to Epicurious.com for the directions on sterilizing the jars. If you are a seasoned jam maker you probably already know how to do this. If you are a new-comer to the world of jam making you will appreciate the concise directions as given by Epicurious. The ingredients and the instructions for making the jam are from The Blue Chair Jam Cookbook. I used less sugar than Blue Chair called for and my jam was plenty sweet.
Concord Grape Jam
Special Equipment:
6 (1/2-pint) canning jars with lids and screw bands; a boiling water canner or an 8-10-quart deep pot; a fine mesh strainer or a chinois
Ingredients:
4 pounds stemmed Concord grapes
2 pounds white cane sugar
3 ounces strained freshly squeezed lemon juice
Very finely grated zest of 1/2 an orange
1/2 ounce strained freshly squeezed orange juice
Sterilize the jars according to these directions at Epicurious.com.
Place 5 spoons on a small plate and place in the freezer for testing the jam.
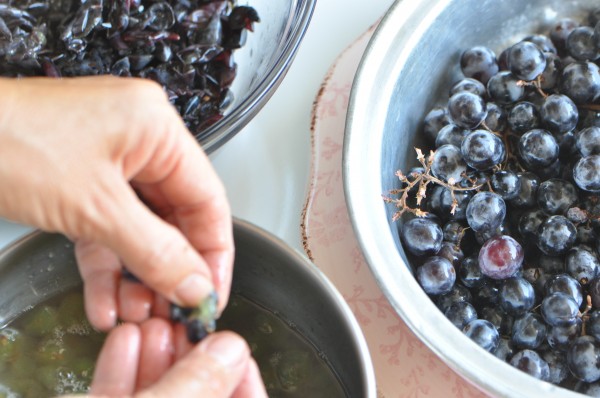
Working directly over a small nonreactive saucepan, use your fingers to gently squeeze the flesh from each grape, being careful to catch all the juices in the pan. (This can be the tedious part of making grape jam. Find your Zen self and try to enjoy this process. Make a wish or state an affirmation on every grape as you go. Time will fly!) Place the skins in a 10 to 12 quart heavy wide pot.
Over medium heat, bring the grape centers and juices to a simmer, cover, and cook until soft, 3 to 5 minutes. Immediately force as much of the pulp as possible through a fine-mesh strainer or chinois. Discard the seeds.
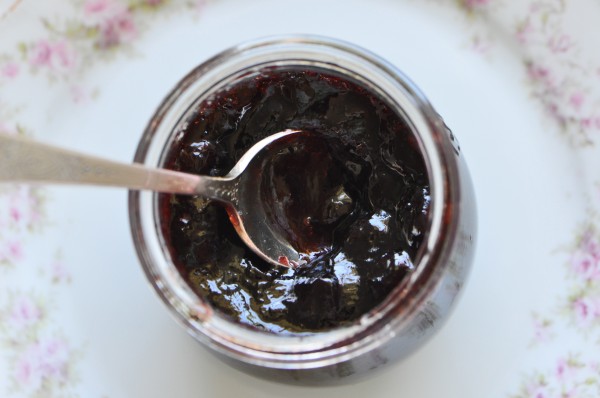
Add the remaining ingredients along with the sieved grape pulp to the pot containing the grape skins. Stir well to combine all the ingredients. Bring to a boil over high heat. Continue to cook until done, 20-30 minutes. Stir very frequently during the cooking process with a heatproof rubber spatula; if the jam starts sticking, lower the heat slightly. To avoid overcooking the jam, test it for doneness after 20 minutes of cooking. The jam will take on a glossier sheen and will have a thicker look than it did initially. (Take a peek at my photos above that show this transition.)
To test for doneness carefully transfer a small amount of jam onto one of the frozen spoons. Place the spoon back in the freezer for 3 to 4 minutes, then remove and carefully feel the underside of the spoon. According to Rachel – it should be neither warm nor cold. If still warm, return it to the freezer for a moment. Tilt the spoon vertically to see how quickly the jam runs. If it is reluctant to run, and if it has thickened to a spreadable consistency, it is done. If it runs quickly, cook it for another minute or two, stirring, and test again as needed.
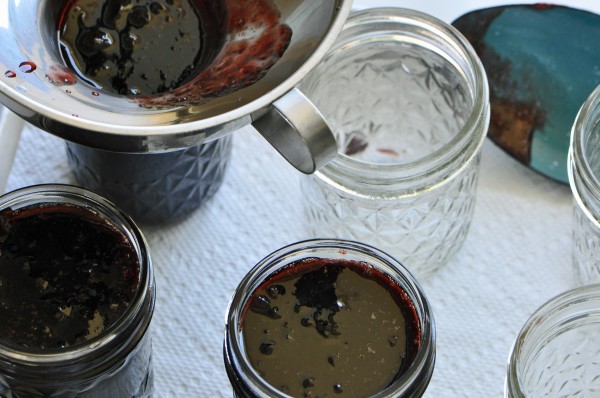
When the jam is ready, skim any white foam from its surface with a stainless-steel spoon. Laddle the jam into the sterilized jars and process according to these directions at Epicurious.com.
Yield: 5 – 6 (1/2-pint) jars.
Source: Blue Chair Jam Book by Rachel Saunders

I have never attempted grape jam. Peeling and seeding grapes would require more patience than cherry pitting! Although I can only imagine how intoxicating the bubbling jam smells and how scrumptious a scoop would taste on a warm buttery slice of toast! An inspiring post!
I probably won’t be making grape jam as frequently as other jams, however, when I do, I will plan my time a little more appropriately. Peeling all those grapes took me back to a younger time in my life when I would watch my grandmothers snap green beans. They never complained. It was all in a day’s work.
When are these gems available for tasting?
Absolutely anytime you would like. Let’s plan a Brunch jam tasting!
Did you make the bread?
I’m with Deb on the grape peeling – I am currently debating on whether I should pit my cherries for jam. I figured I could strain them out at the end. Couldn’t you cook the grapes and strain them in one of those canning, conical strainers?
Also, I know what I want for Hanukkah – a series of jams. A grape, a plum, a marmelade….. Am I too bold for asking? xo
The bread was an Apricot loaf I picked up at a local French bakery. It was delicious! There are jam recipes where you cook the grapes whole and then then put it all through a food mill or chinois. However, I like the approach that Rachel Saunders uses because the skins remain in the finished jam. I think it adds more flavor that way. And, way to ruin a Hanukkah gift. 🙂
The grape jam looks yummy! Please bring a jar home for me please. I can so appreciate the labor in making this since years ago I made a grape pie and will probably never again, although it was delicious. Once again, your photos are lovely!
I have a supply of my summer jams tucked into my luggage for safe delivery when I arrive home tomorrow. Can’t wait to see you and the rest of the family.
I just made grape jelly! How funny. Isn’t it just scrumptious?
Russell, your approach seems so simple. If only I had found your post before peeling grapes for over an hour. And the doughnuts – with homemade jam! You have inspired me!!
You inspired me. I was at the farmers market here in N.C. and muscadine grapes are in season so , I bought some and made jam with them. There are really easy to peel so I had some luck there. The jam turned out pretty good and I am going to use it on some goat cheese from the FM as well – so thanks for the post!
You could always send me a jar. Just a thought 🙂