Grave Robber’s Cake and a Guest Post
 My incredibly talented daughter has grown to become quite a talented baker in her own right. She continues to blow me away with her creativity and skills as an artist, baker, and all around amazing person. I thought it was high time she share her talents here on the pages of Sifting Focus. Enjoy!
Mary
 Halloween runs in my blood. The “holiday season” most people get excited for is between the third week of November and the first of January; mine centers around October 31st. One year when I was in elementary school, my dad decided to re-purpose our Sukkah (a small outdoor hut used in the Jewish celebration of Sukkot) into a tiny haunted house for the neighborhood kids. It was a 12’x12’ box that he transformed into a small, three section scare house. The victims walked in on the right side, had a ghost or two pop out at them, turned the corner and put their hands into bowls filled with Jell-O brains and peeled grape eyeballs, turned another corner and were chased out by an axe-wielding mad man (my father).
Over the course of the next ten years, this Jewish hut turned spooky attraction, grew into a 1,000 square foot depraved house of horrors in our back yard. The icky bowl of brains was replaced by an actor screaming bloody murder while getting their leg sawed off by a mad scientist. The hallway where ghosts went “Boo!” transformed into a corridor of corpses where only one was real. The gaggle of neighborhood kids looking for a fright became a line down the block of local teens and adults shaking in their boots!
While my dad was inventing ways to make children (and many adults) cry out in terror, my mom was busy hosting a giant party of friends and family celebrating All Hallows Eve. The kitchen counters were always filled with snacks, cornbread, hot dogs, and a 5-gallon pot of chili. The house was abuzz with couples in matching costumes, kids sorting their bags of Halloween loot, and the sounds of screaming visitors inside the haunted house.
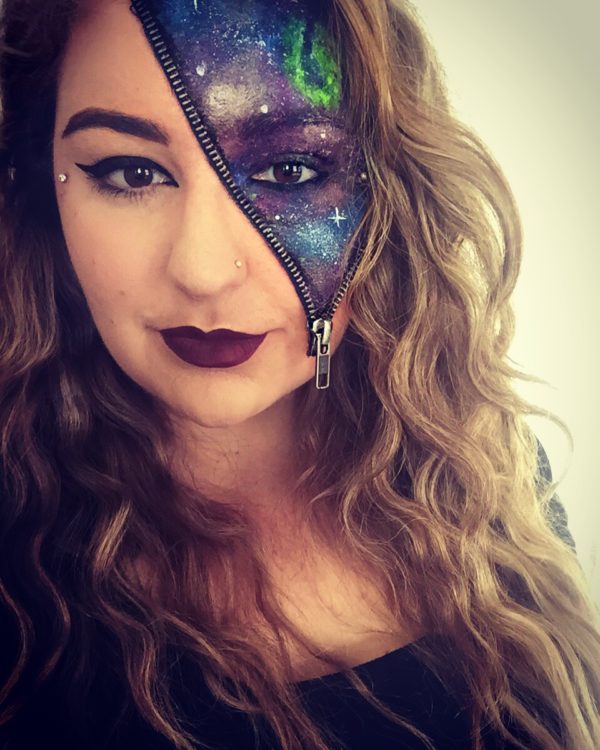
 I have always loved makeup and have been playing around with it since nearly before I could walk. When we started the haunted house, I helped my mom put on black lipstick and drip fake blood onto costumes. I eventually became head of the makeup department, applying silicone scars, creating fake gashes, painting faces, and generally covering everyone in as much blood as possible. In college, I took a special effects makeup course taught by a Hollywood movie professional who specialized in gore and horror – I was in heaven! I have since become a part-time makeup artist, doing it as a side job and hobby.
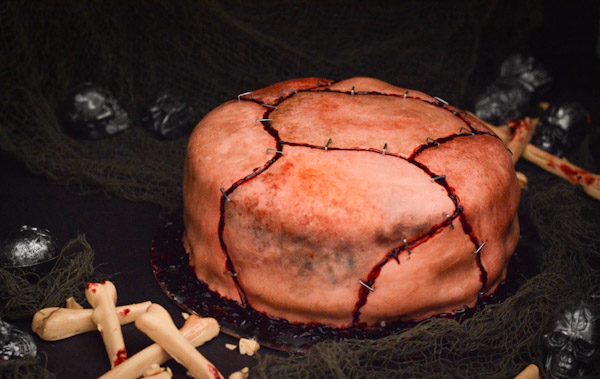
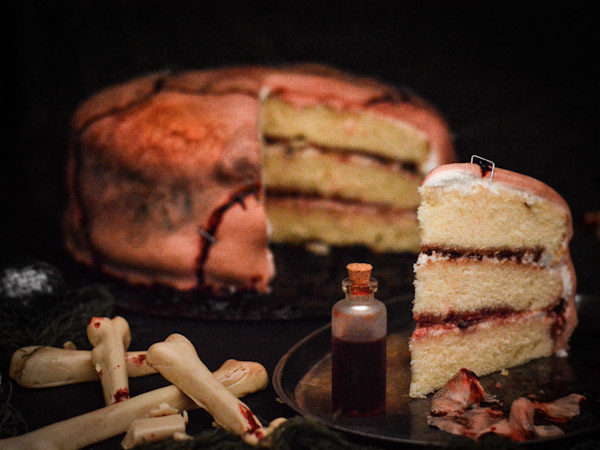
With Halloween fast approaching, I decided to combine my love of delicious treats with my flair for the macabre. What resulted was a cake my mom described as, “Almost too disgusting to eat.” Using inspiration from notorious serial killer Ed Gein, I created a yummy 3-layer cake covered in human flesh! (just kidding, it’s fondant). Check out the steps below to see how it was done!
I began by baking a yellow cake using a recipe by Cook’s Illustrated. However, you can use any cake recipe or flavor you desire – red velvet would be fun! I chose to bake three 8” rounds, but the decorating can be adapted to any shape or size of cake.
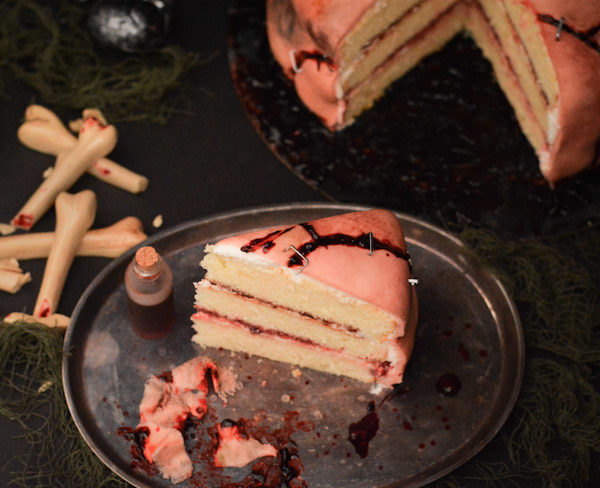
Once the cake rounds were completely cooled, I assembled them with a layer of vanilla buttercream and a layer of red raspberry jam between each. I thought adding some oozing red jam in the center of the cake would add an extra ick-factor. After assembling the layers, I covered the cake in a crumb coat of frosting to create a base for the fondant.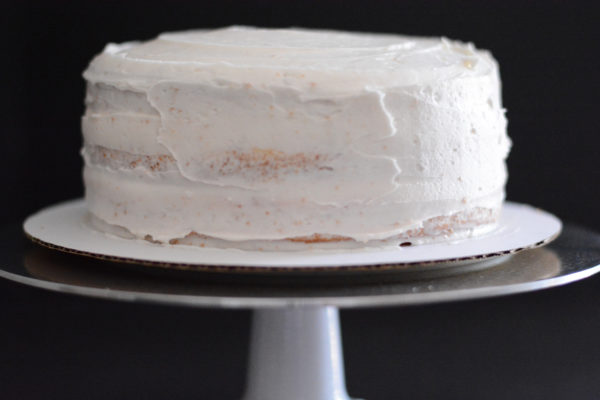 The ingredients and tools needed to achieve this finished cake result are shown below.
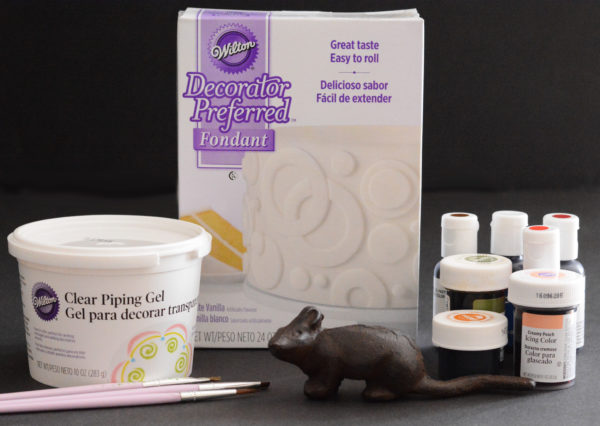
I began by coloring the white fondant using a combination of peach, green, and copper food coloring. When coloring fondant, it is best to begin slowly, adding only a small drop at a time and kneading thoroughly. You can always add more color but you can’t take it back!
I then rolled out the fondant into a large round sheet approximately 1 foot in diameter and 1/16th of an inch thick. Your fondant size may vary depending on the size and shape of your cake. If you want to see a detailed video on how to cover a cake with fondant, click here.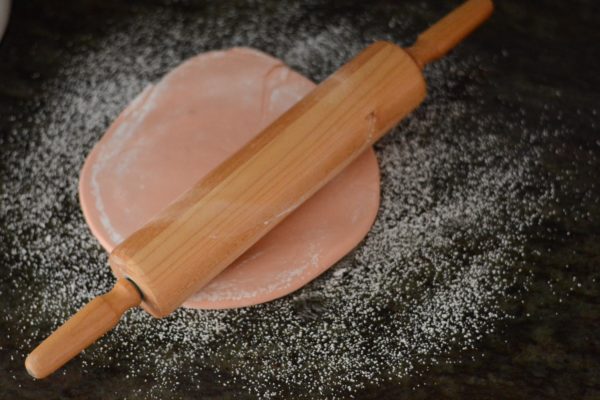 Once my cake was covered, I began using the blunted edge of a butter knife to carve depressions into the fondant to make it look like separate skin pieces were attached together. Be very careful with this step because if you press too hard, you may slice through the fondant. Luckily, this is a cake made to look like cut apart skin, so a few extra nicks shouldn’t be a disaster.
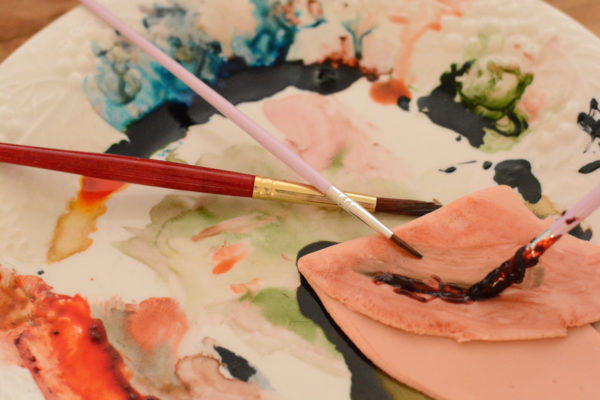
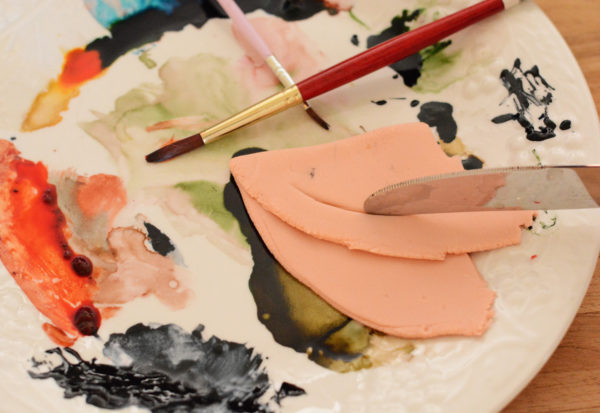 Next was the fun part – the painting! I used a variety of different food colors to paint the fondant. If you are using high quality gel food colors (which is recommended) you will only need a drop of each color to paint the entire cake. By mixing the various colors together and adding water, I was able to turn the food coloring into what was essentially a palette of watercolors. I proceeded to work some special effects magic and painted the cake to look like it was made of various pieces of decaying/bruised/rotting flesh.
One of the most important notes on how to achieve this effect is to remember that skin is not simply one tone. Take a look at the palm of your hand and notice how many different colors are there! Blues, greens, yellow, and purple are all present in everyone’s skin, regardless of how dark or light your skin may be. I created some bruises on the fondant using a combination of all these colors. If you would like to see how to create a realistic bruising effect, check out this video. In the video, she uses special effects makeup paint, but the same exact effect can be achieved using your food coloring watercolors.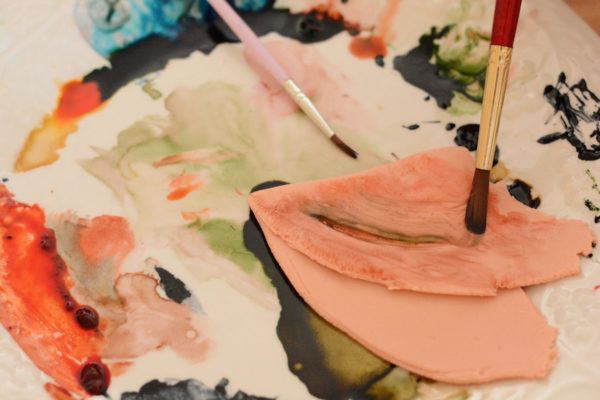 Once the fondant was painted to my liking, I added black food coloring into the crevices created by the butter knife to imply added depth. To create edible blood, I used clear piping gel and colored it with red and burgundy food coloring. I then painted the gel into the crevices, making sure they looked nice and oozing!
 For the finishing touch, I pushed large staples (yes, real staples) into the cake to make it look like the flesh was actually stapled together. *I felt comfortable using real staples because I was going to be the one serving the cake and was confident I would be able to remove them all. If you have small children or are bringing the cake to a party, I would suggest making “stitches” out of fondant and painting them black instead.
The final product was a disturbing baked good that is not for the faint of heart. Enjoy exploring your dark and creepy side this Halloween!

oh wow! So pleased to see all the fun you had with this ingenious cake! Such wonderful childhood memories, your parents are marvelous. Happy Halloween!
Oh my goodness Jayz – that is one intense looking cake. Well, I think you’ve now earned the moniker of “CCJ” – creepy cousin Jael. Technically, it’s a work of beauty. The inside looks delicious and a perfect layer cake, the outside looks completely realistic!
Bravo Jael!! Would love to sink my teeth into it!
Although we have not constructed our haunted house in a few years, this cake, and this blood curdling but heart-warming post make me hungry for more.